Overview
If you use Time Clock & Attendance, you can easily send payroll information to ADP Workforce Now for payroll processing.
Considerations
Your workplace must use Time Clock & Attendance to set up payroll integrations.
- You must have manager or admin level access to set up the integration.
- If you have multiple ADP company codes, you’ll need to use a unique When I Work account for each company code.
- If a user is leaving your business, do not archive the user in When I Work until after you’ve processed pay period hours.
- Time off hours sent from When I Work to ADP Workforce Now do not automatically update user’s time off balances in ADP Workforce Now.
Before you begin
Record the following information from your ADP Workforce Now account:
- Company code
- Batch number that corresponds to your When I Work account
- Earnings codes and hour types
- File number for each user
- Department code for each position
If you need help finding this information, contact your ADP representative.
Setting up the ADP Workforce Now Integration
Turn on the integration in When I Work and add ADP information to allow the systems to communicate.
Turn on the ADP Workforce Now integration
Hover over , then select Integrations.
- Click See all integrations.
- Under ADP Workforce Now (Legacy), click Learn more.
- On the right side of the page, click Enable.

Add your ADP company information
On the Company tab, add your ADP company information.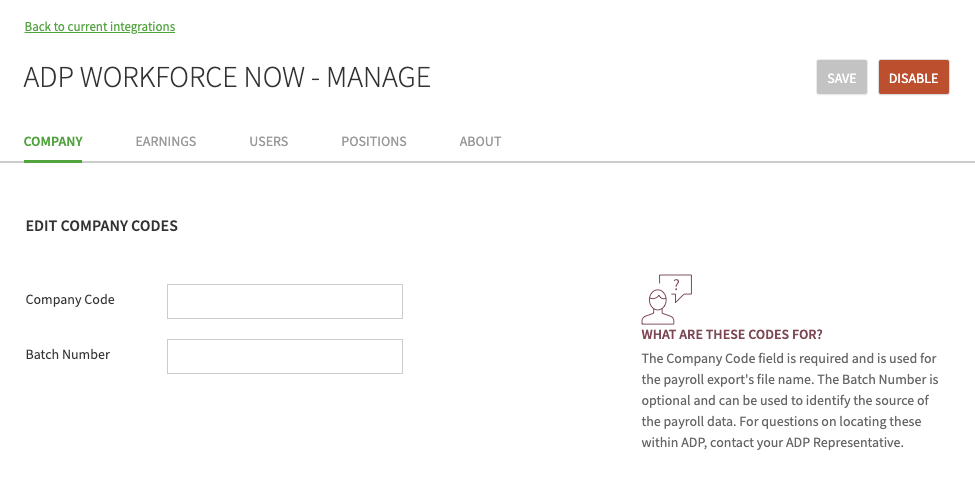
- Enter your ADP Company Code.
- Enter the ADP Batch Number that corresponds to this When I Work account.
- Click Save in the upper-right corner of the page.
Add up ADP earnings codes
On the Earnings tab, set up earnings codes so that hours transfer correctly from When I Work to ADP Workforce Now.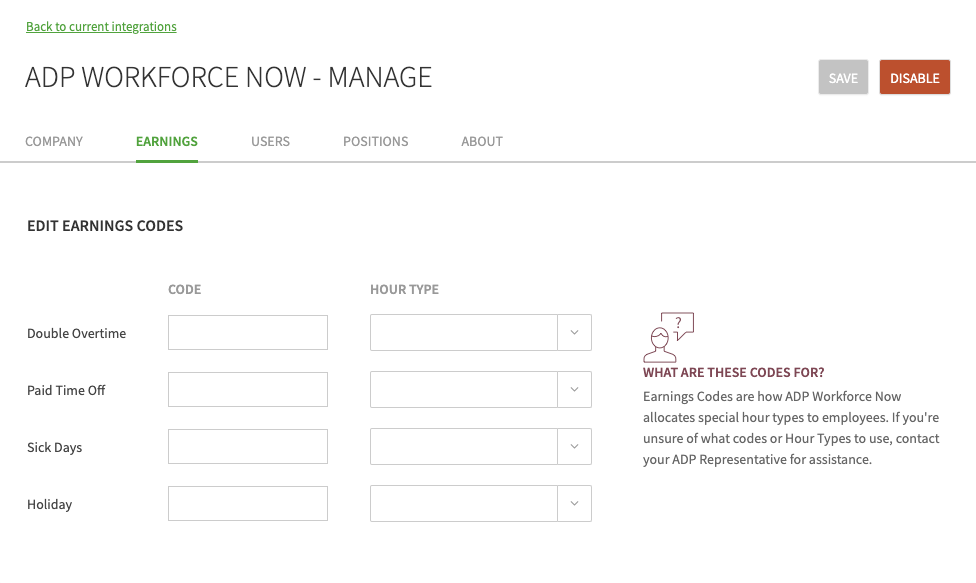
- Map each When I Work earnings code (Double Overtime, Paid Time Off, Sick Days, and Holiday) to an ADP Code and Hour Type.
If you don’t set up an earnings code, any time logged under that code in When I Work is exported as regular hours. - Click Save in the upper-right corner of the page.
Add ADP user file numbers
On the Users tab, map users in When I Work to their ADP file numbers.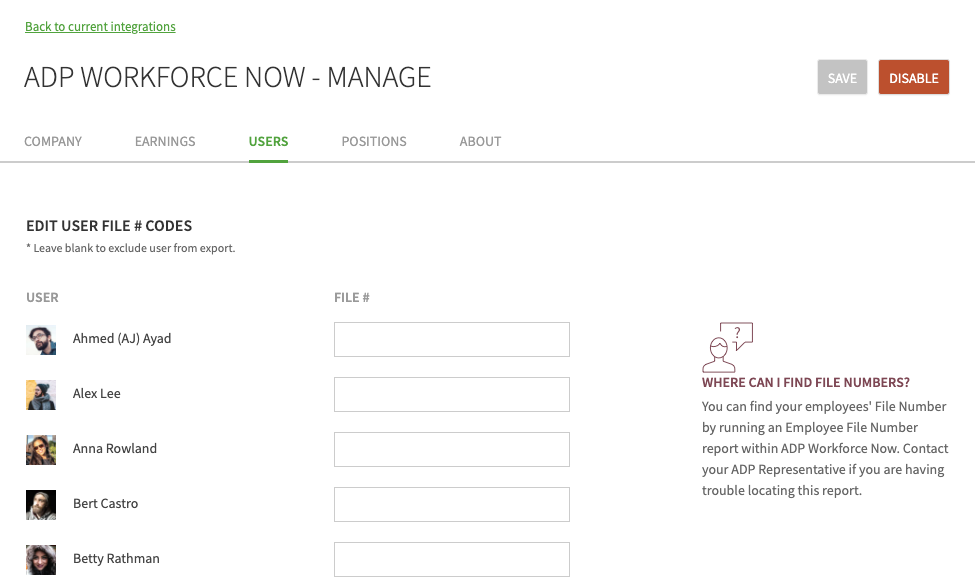
- For each When I Work user, add their ADP file number.
If you don’t want to include a user in the export, do not enter a file number for that user. - Click Save in the upper-right corner of the page.
Bulk import user file numbers
ADP file numbers can be imported or updated in bulk with the user import.
Hover over , then select Users.
- Click more , then select Import Users.
- Download the user import template.
- In your user import spreadsheet:
- Add a column for File Number to the template.
- Enter user file numbers.
- Click Upload File.

- Select and upload your spreadsheet file. After your file has been uploaded, a File Number field appears when matching your fields.
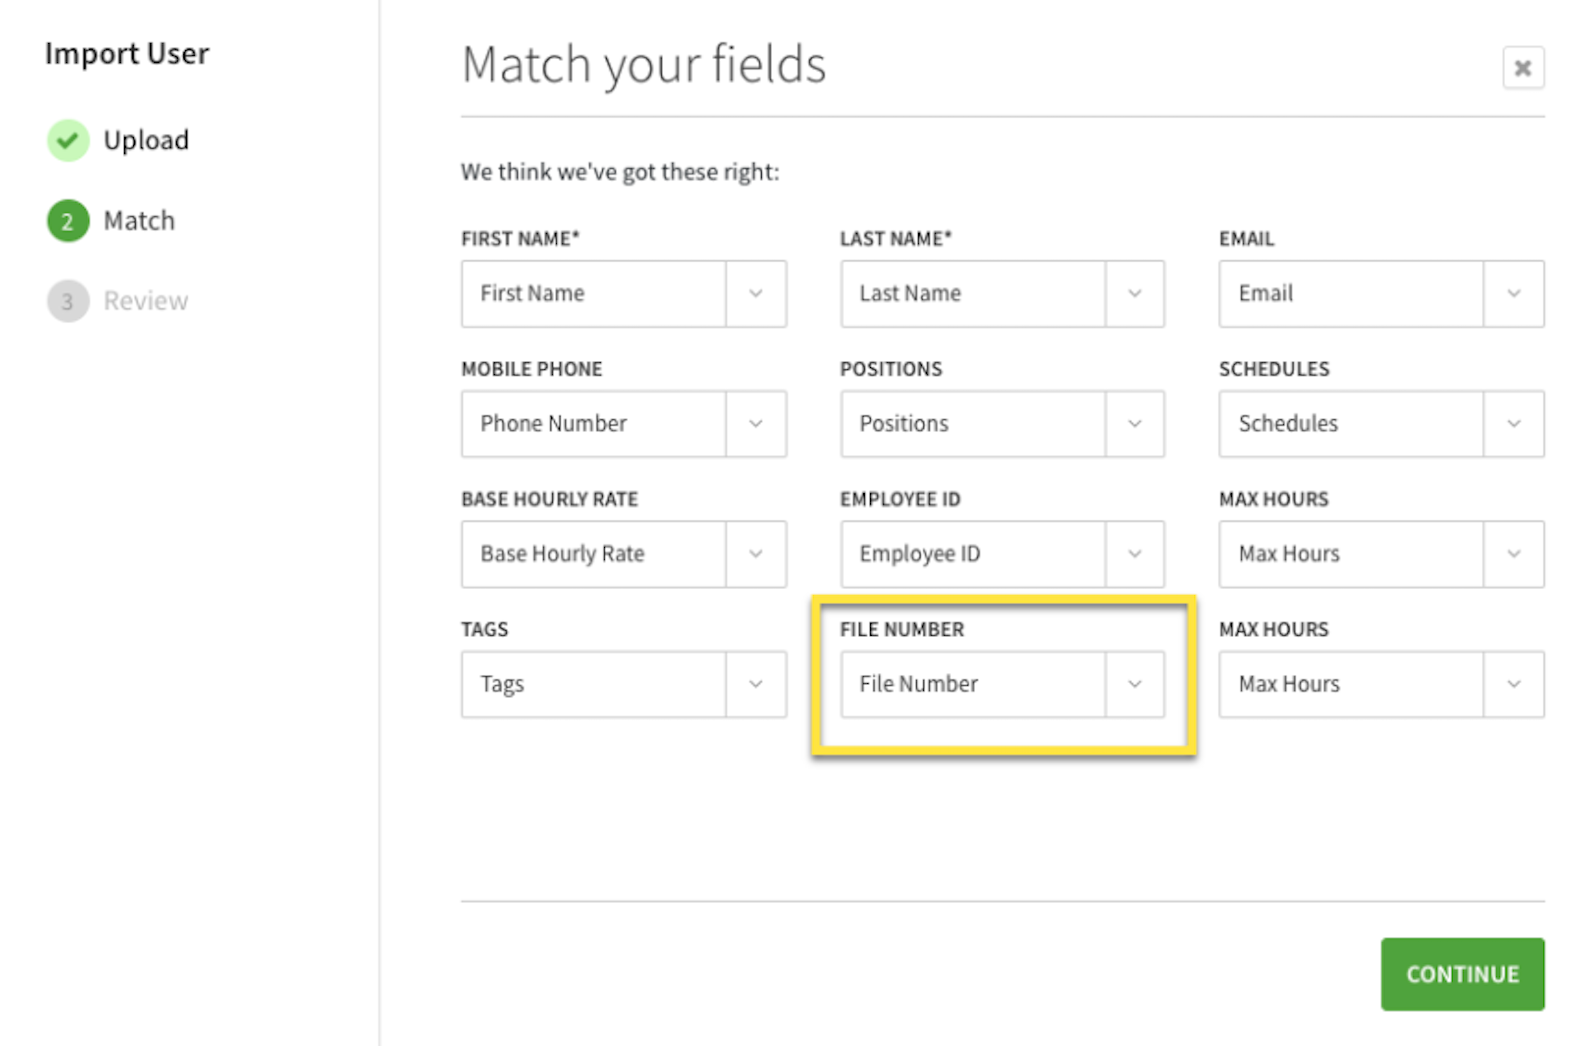
- Click Continue when your fields are matched.
- Review your user import.
- Click Import Users.
- Click Close after the import completes.
Add ADP department codes for When I Work positions
On the Positions tab, map When I Work positions to the corresponding ADP department codes to make sure users are paid the correct rate for their work.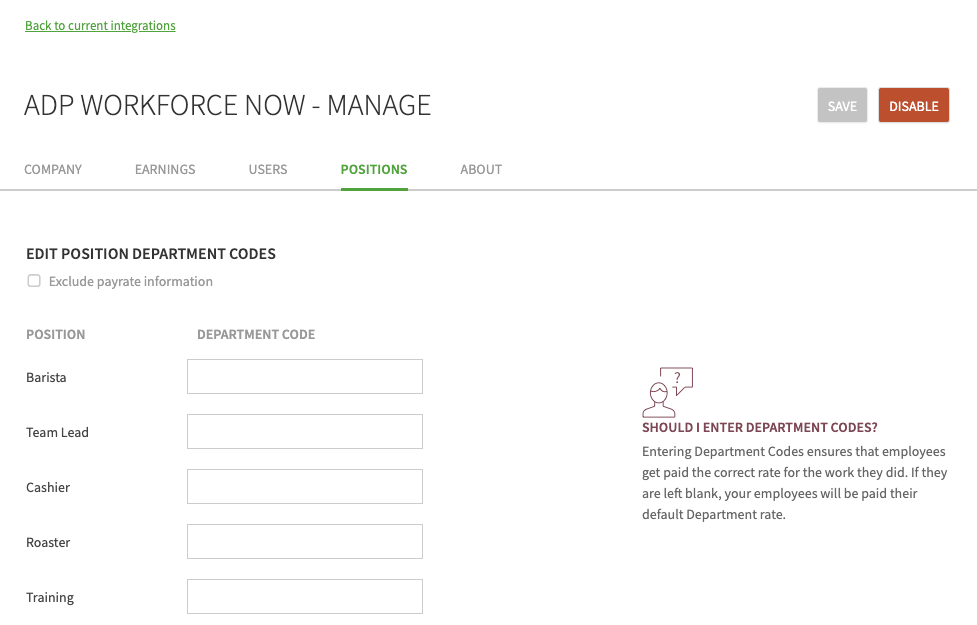
- For each When I Work position, set an ADP Department Code.
If you want to use user’s default departments in ADP instead of their When I Work positions, leave the department codes blank. - (Optional) If you want to set the pay rate for positions in ADP Workforce Now instead of using the pay rate information in When I Work, select Exclude Payrate Information.
- Click Save in the upper-right corner of the page.
Sending pay period hours data to ADP Workforce Now
- When a pay period has ended, close and export pay period hours.
- Click Export ADP Workforce Now.
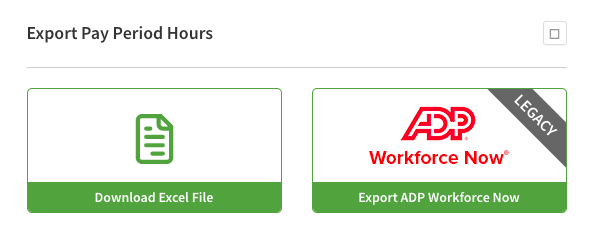
- Save the CSV file to your computer.
Do not modify the file name; if you change the name it will fail to import into ADP Workforce Now. - Upload the CSV file to ADP Workforce Now.
If you need assistance with this step, contact your ADP representative.